moonstone
Tyre Kicker
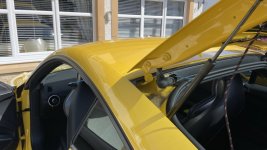
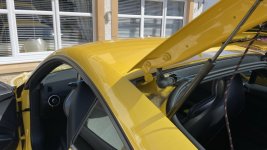
I did this myself at the weekend and thought I’d share. Photos are quite big so all of them are thumbnails. Click on them for full-size images.
The Kit:
I bought this one. It comes pre-calibrated and parameterised for the TT so there no additional work needed after installation: https://www.ebay.co.uk/itm/272685391506
Tools needed:
Here's an outline of the steps required before I get into the specifics.
Removal of boot lid trim and trunk handle.
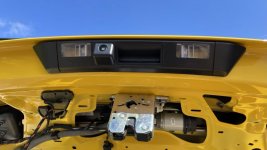
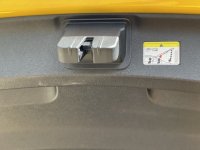
1. Remove the cover on boot lock mechanism by releasing two clips on either side using your trim removal tools.
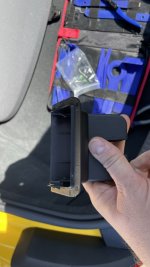
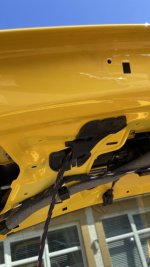
2. Remove the main large plastic cover section from the inside of the boot lid by first releasing the two push-fit fixings. Long-nosed pliers are handy for this as you can first pull out the centre section and then pull out the main part of the fixing. After these two are removed, you should remove the cover for the emergency boot release on the left hand side. It just levers out, if you can get a small flat head screw driver in to unclip it. You then pull the T-shaped part of the cable out of it. Now this has been done just unclip the entire main trim piece by working your way around the edges with your trim removal tools.
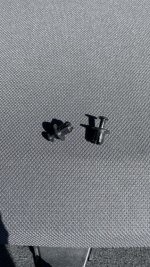
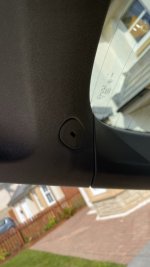
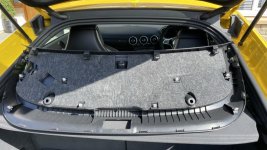
3. Next up you want to remove the rest of the boot lid trim that goes around the window etc. There are two more push fit fixings at the bottom of the trim on either side (revealed by the removal of the main section that you've just taken off. After you remove these you work way around both sides with your trim removal tool to release the clips and then just pull it off.
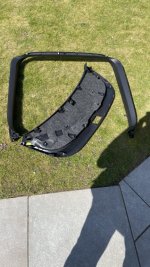
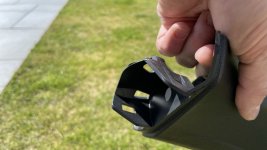
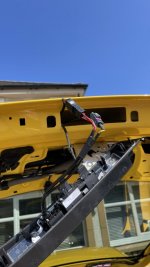
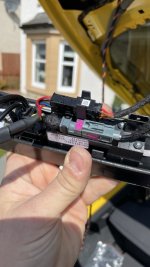
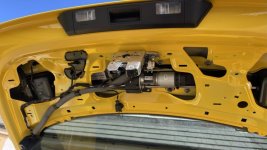
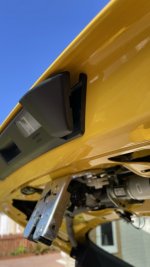
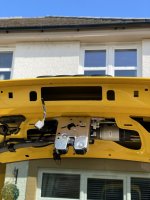
4. Now that the trim is off, you'll want to remove the existing boot handle/license plate light assembly. You do this by releasing the two triangular shaped sections at each end. Don't pull them all the way out as you may snap the clips inside. You just release then and then you can remove the whole assembly. It has a sticky waterproof seal around the back of it so it might be a bit stubborn to remove. Just use a trim removal tool to pry it off. You can then disconnect the existing electrical connector.
The Kit:
I bought this one. It comes pre-calibrated and parameterised for the TT so there no additional work needed after installation: https://www.ebay.co.uk/itm/272685391506
Tools needed:
- Trim removal tools
- Pliers
- Radio Removal Keys
- Electrical cable feeding rod (or a coat hanger or similar)
- Fabric Tape
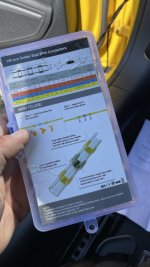
- A means to join electrical cables (soldering iron or cable taps etc)
- Spanner or socket to disconnect the battery
- OBDeleven, VCDS or similar for coding
Here's an outline of the steps required before I get into the specifics.
- Removal of existing boot handle/registration plate light assembly
- Removal of interior boot lid trim to route new cable
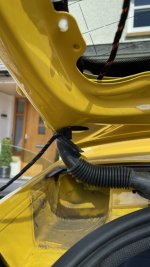
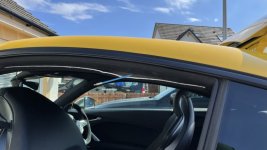
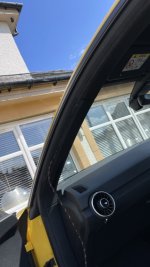
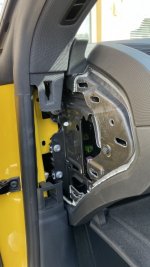
- Run cable along the roofline and down the a pillar on the passenger side to reach behind the glove box
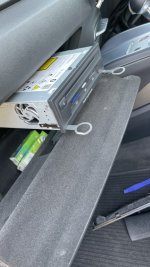
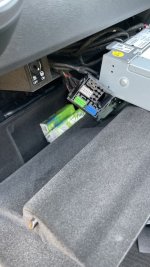
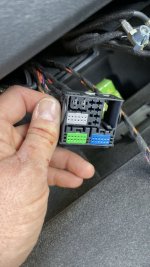
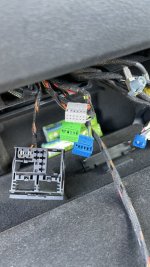
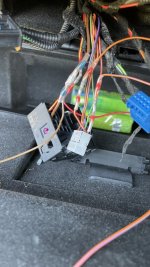
- Removal of multimedia unit inside glove box and and disassembly of the quad-lock connector
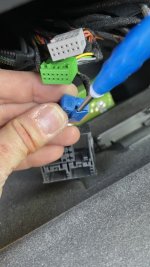
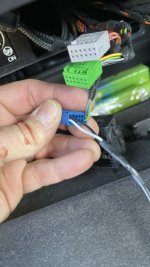
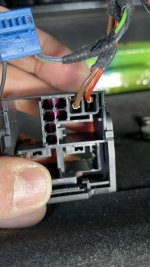
- Splicing 4 wires on the back of the quad lock and the insertion of 2 new ones
- Reassembly of everything
- Coding
Removal of boot lid trim and trunk handle.
1. Remove the cover on boot lock mechanism by releasing two clips on either side using your trim removal tools.


2. Remove the main large plastic cover section from the inside of the boot lid by first releasing the two push-fit fixings. Long-nosed pliers are handy for this as you can first pull out the centre section and then pull out the main part of the fixing. After these two are removed, you should remove the cover for the emergency boot release on the left hand side. It just levers out, if you can get a small flat head screw driver in to unclip it. You then pull the T-shaped part of the cable out of it. Now this has been done just unclip the entire main trim piece by working your way around the edges with your trim removal tools.


3. Next up you want to remove the rest of the boot lid trim that goes around the window etc. There are two more push fit fixings at the bottom of the trim on either side (revealed by the removal of the main section that you've just taken off. After you remove these you work way around both sides with your trim removal tool to release the clips and then just pull it off.


4. Now that the trim is off, you'll want to remove the existing boot handle/license plate light assembly. You do this by releasing the two triangular shaped sections at each end. Don't pull them all the way out as you may snap the clips inside. You just release then and then you can remove the whole assembly. It has a sticky waterproof seal around the back of it so it might be a bit stubborn to remove. Just use a trim removal tool to pry it off. You can then disconnect the existing electrical connector.


Last edited:

